
[ad_1]
Have a USB startup key handy if you need to reinstall Windows 10 on your PC.
Josh Goldman / CNET
Troubleshooting an old, slow PC isn’t a fun experience, but it’s also something you can do it yourself at home. In addition to the common issues to look out for, there is one more task you need to do – create a bootable USB drive. I know I know. The first time I heard the term “bootable USB”, I felt a tinge of panic. And it’s okay if you do too. Creating the player is a task that seems complicated and requires a lot of technical knowledge, but in reality it only takes a few mouse clicks and a solid internet connection. Don’t feel intimidated at all. I promise.
To create a Windows 10 Bootable USB stick is something you should definitely do if you have a the Windows computer. Backup media can save you time and headaches if you ever need to reinstall Windows. And if you are build a gaming pc, this is one of the last things you will need to complete your build. (You can also create a boot drive for Windows 11, if you want to test the latest version of Windows before its release.)
In addition to an empty 8 GB USB stick and a Windows PC, you will need to allow about 30 minutes, maybe more, depending on your internet speed.
For the curious, it’s possible to use a Mac to create a Windows 10 startup drive, but the process is quite complex and requires familiarity with Terminal, the Mac’s command-line tool. It is not a process that I would recommend for the average user. I recently built my first gaming PC, and despite my low level of comfort with Terminal, I have always found using a Windows PC to be a safer and easier process.
Use Microsoft’s multimedia authoring tool
Microsoft has a dedicated tool that you can use to download the Windows 10 system image (also known as an ISO) and create your bootable USB drive.
1. Go to this page, scroll to Create Windows installation media, and click Download the tool now.
2. Once the download is complete, double click on the called file MediaCreationToolxxxx to run it. (The last four digits of the file name indicate the version number of Windows 10. Currently, the file name is MediaCreationTool21H1, but that will change as new versions are released.) The file should be in your Downloads folder.
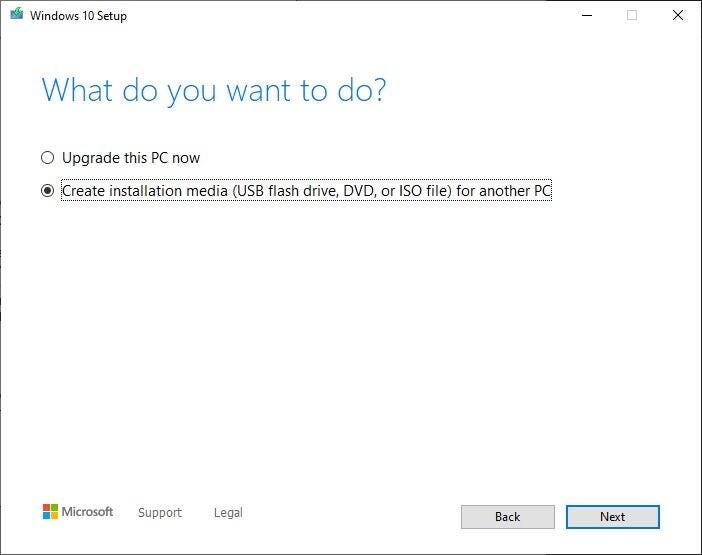
Select Create installation media from the short list of options.
Screenshot by Jason Cipriani / CNET
3. When the program opens, accept Microsoft’s terms and conditions, and then select Create installation media (USB stick, DVD or ISO file) for another PC, and click Next.
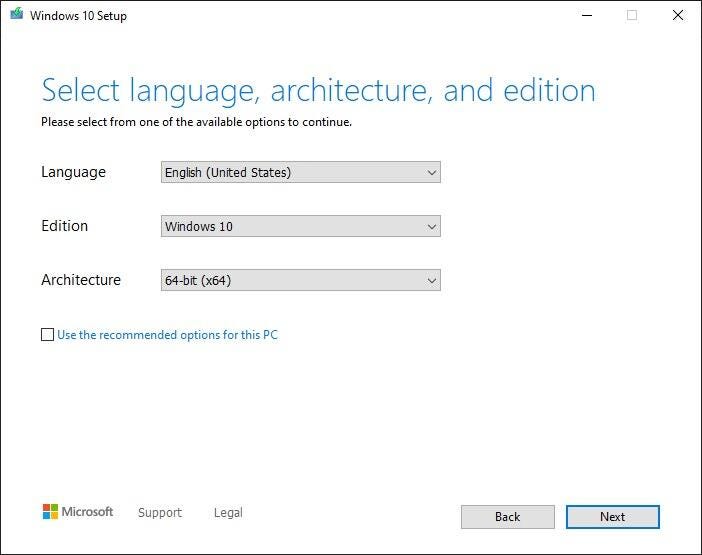
Adjust your settings as needed.
Screenshot by Jason Cipriani / CNET
4. You will be asked to select the language, edition, and architecture you want to use. By default, the tool will use the best options for the PC where you are creating the boot drive. You can change any of the options by unchecking the box next to Use the recommended options for this PC and using the drop-down options. If you are unsure whether you need 64-bit or 32-bit architecture, select Both in the Architecture drop-down list.
Note that according to Microsoft’s support page, if you plan to use this tool to flash a different edition of Windows 10, such as Windows 10 Pro (or vice versa) to another PC, it will be included when you select Windows 10 like the Editing. In fact, Windows 10 Basic is the only option, so don’t stress out looking for a Pro option.
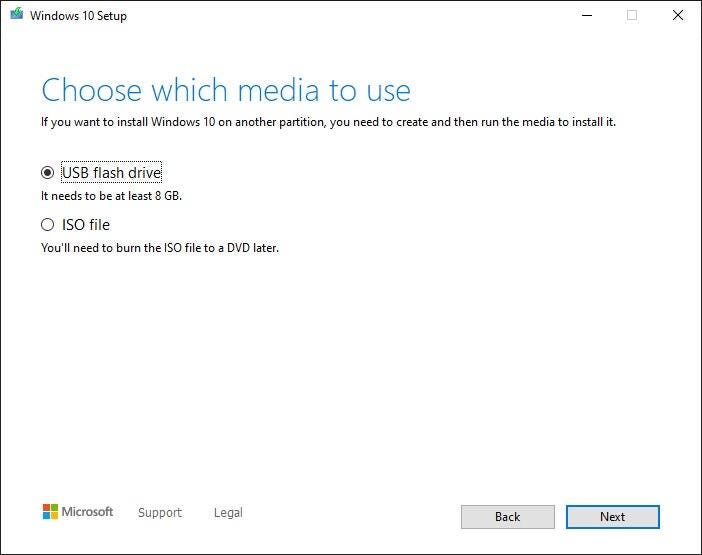
Select the USB stick.
Screenshot by Jason Cipriani / CNET
5. Click on Next when you have adjusted the options, exit USB key selected and plug your USB key into your computer. To select Next Continue.
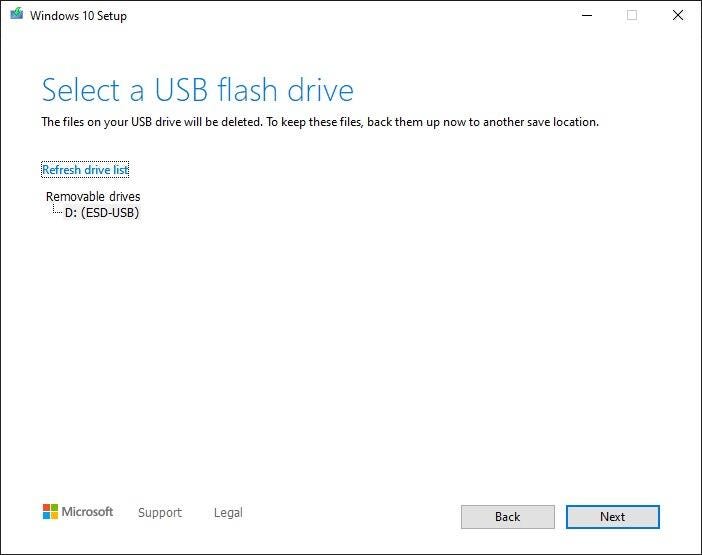
Make sure you select the correct drive for your USB drive.
Screenshot by Jason Cipriani / CNET
6. Finally, select the USB drive from the list. If more than one drive is connected to your computer and you are not sure which one to choose, disconnect the additional drives. Choosing the wrong drive could be catastrophic, as this process erases everything on the drive during the process. With the correct drive selected, click Next.
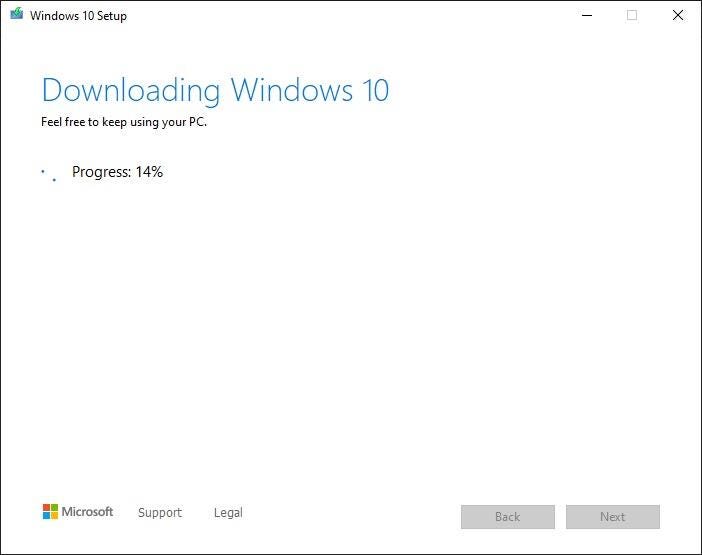
It will take a little while, but Microsoft’s tool will take care of the rest for you.
Screenshot by Jason Cipriani / CNET
Microsoft’s tool will take care of the rest from there. Go for a drink, take a walk or browse the internet while the tool does its job. The process should take around 30 minutes, more or less, depending on your internet speed.
When the tool is finished, click To finish and remove the USB stick from your computer. In the future, if you need to install or reinstall Windows, you can connect the player to your computer and restart it. Your PC should boot to the drive, giving you the option to install Windows.
If it doesn’t automatically boot to the drive, you’ll need to restart your computer in its BIOS firmware – usually by pressing Esc, F2, or a similar key while the computer is booting – and change the boot drive or “bootmenu” on your USB stick. The process for each computer (or motherboard if you are building a gaming PC) will be different. When you turn on your computer for the first time, a small line of text tells you which button to press to enter BIOS. If you don’t see it or if it goes away too quickly, I suggest consulting your manual for instructions.
You can also use the multimedia tool to switch from Windows 7 to Windows 10, by following these instructions. After installing Windows 10, here are some tips to get you started. If reinstalling Windows 10 seems too difficult for you, use these tips to troubleshoot and speed up.
[ad_2]
Source link