

[ad_1]
Deathloop has many similar elements to previous Arkane Studios games, especially its gameplay centered around supernatural abilities. In Deathloop, the items that impart these powers are called Slabs, equipable powers that are held by Blackreef’s most dangerous citizens. These visionaries all have a different slab, each giving you a whole new way to move around the island or face enemies. They also all come with plenty of upgrades that can expand their abilities in creative ways, which begs the question: which ones should you get?
In short: all, really. Unlike Dishonored, Deathloop recovers the range somewhat and limits the slabs to just five variations. Since you can only equip two at a time anyway, that’s okay too, especially when you factor in how many upgrades each need to improve their efficiency. Deathloop makes it clear where you can find each one, but if you need a full explanation of the effect of each and any potential upgrades, look no further.
It should be noted that while all of these slabs are specific to certain visionaries, the invading Julianna will always take a random slab with her when she invades your game. If you manage to take it down, you can acquire a new ability or a upgrade without needing to hunt a specific character, which should prompt you to at least try to defeat the invaders most of the time they spawn.
Be sure to check out our Deathloop beginner tips to help you survive as long as possible in Blackreef.
Offset slab

This is arguably the most recognizable of Deathloop slabs, fully mimicking Dishonored’s Blink ability. Shift allows you to teleport small distances in any direction, making it an incredibly versatile tool for moving around Blackreef. It’s not just for moving around, either – clever uses of Shift can turn the tide in a hectic firefight, confusing your enemies and giving you a moment to take out a lot of them before they reconfigure their objective.
Visionary: Charlie Montague
Site: Updaam at noon
Upgrades:
- Airborne: You can fly over the air when using Shift, which allows you to change direction.
- Kick: Kicking right after completing Shift will produce a sonic boom that will deal area-of-effect damage.
- To reach: Your Shift will be able to reach further.
- Exchanger: Instantly swap positions with a targeted enemy.
Aether Slab

If teleportation is effective in staying hidden, Aether is the perfect complement. Ether allows you to become almost invisible (enemies will detect you when you are very close to them), allowing you to easily sneak into areas without detection. Not only will this help you avoid the Eternalists, but it will also bounce the laser from triggering mines, allowing you to access restricted areas without needing to get close enough to disarm or violently trigger them, alerting everyone. world around you. Aether’s upgrades help you expand its effect while still letting you take out enemies and prevent them from leaving an ethereal stain, which is perfect for totally stealth play.
Visionary: Egor Sterling
Site: The Complex in the evening
Upgrades:
- Phase: Taking damage does not deactivate Aether.
- Ghost: Energy does not flow when stopped.
- Wipe off: Enemies do not leave an Aetheric Trace when killed while Aether is activated.
- Sway: Attacking will not deactivate Aether.
Nexus panel
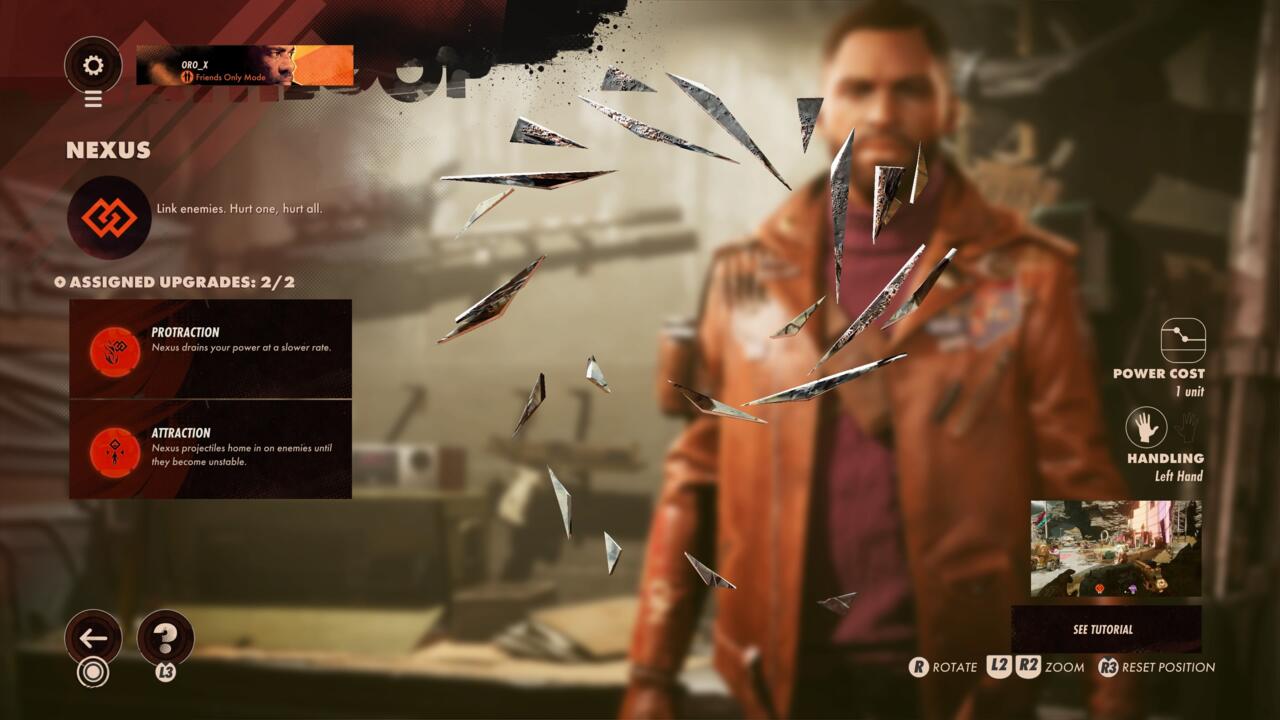
Borrowing again from Dishonored and his Domino power, the Nexus slab lets you link multiple enemies together and share their fate with them. This means that if you kill one of the linked eternalists, all those linked to him die at the same time. It’s an incredibly powerful tool for stealth and all-out action gameplay, letting you take down groups of enemies with just one bullet. It also helps that the slab is used almost like a lobed grenade, allowing you to link enemies from quite a distance away.
Visionary: Harriet Morse
Site: Karl’s Bay in the morning
Upgrades:
- Affecting: Enemies will create new connections as they roam.
- Parasite: You gain health from damage dealt to linked enemies.
- Attraction: Nexus will target enemies.
- Extension: Energy flows more slowly when enemies are linked.
Karnesis slab
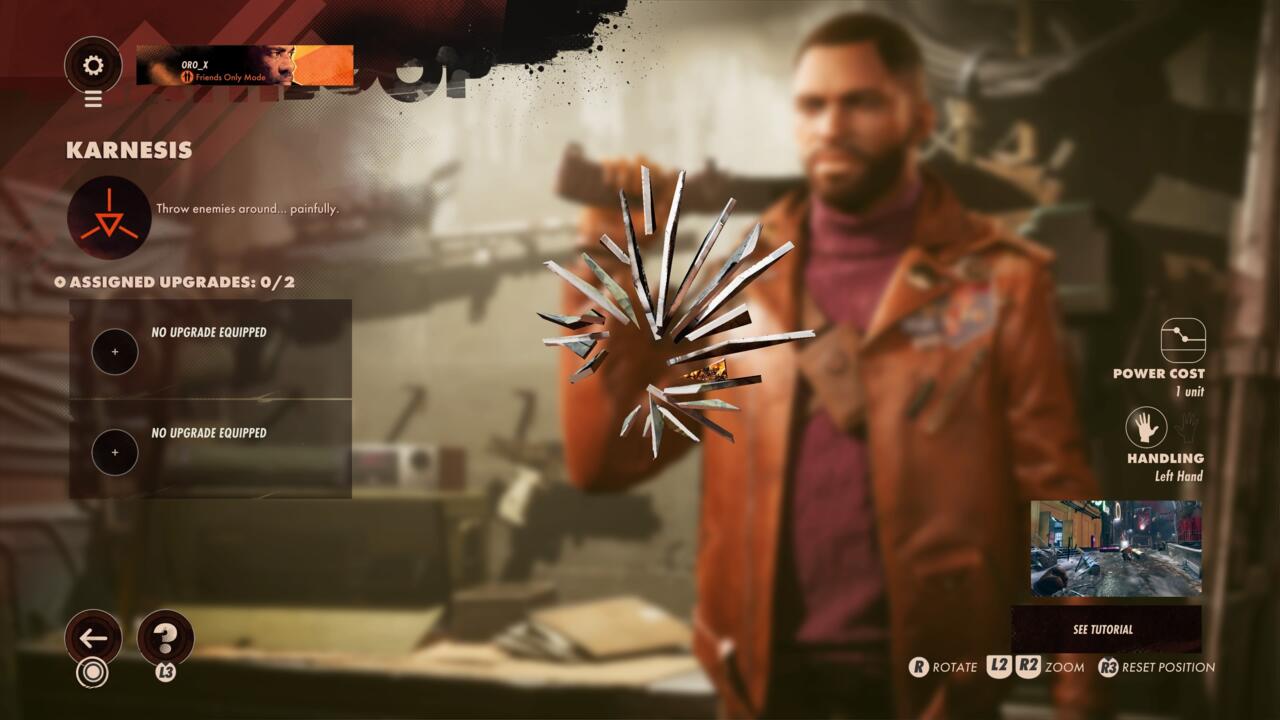
If Deathloop is a great power trip, then Karnesis is the icing on the cake. It’s Blackreef’s Star Wars Force Push, allowing you to pick up and throw enemies, making High Cliffs a new weapon you can use against unsuspecting eternalists. With a few upgrades, you can get a bit more flamboyant with your telekinetic hand strokes, letting you hit enemies on the ground and push groups instead of just targets. Sadly, this only works on human enemies and not on items around the world, so keep that in mind.
Visionary: Alexis Dorsey
Site: Updaam in the evening
Upgrades:
- slam: Bring enemies to earth with a powerful slam.
- Zoned: Push multiple enemies at once.
Slab of Havoc

If going strong is your favorite playstyle, then Havoc will be an irreplaceable slab in your inventory. It’s the only one that wholeheartedly compliments big firefights, improving your damage and reducing the amount of damage you take in return. Upgrades only improve this, reducing the rate of energy consumption and allowing you to expand the effect by dealing damage.
Visionary: Fia Zborowska
Site Fristad Rock and then
Upgrades:
- Backlash: Unleashes a powerful and damaging explosion at the end of Havoc.
- Withdrawal: Recover energy by dealing damage to enemies.
- Euphoria: The more damage you take, the more damage you inflict.
- Rampart: Taking damage no longer drains energy faster.
Which tiles should you get first?
You can think of Deathloop slabs as Mega Man’s abilities: you can get them in any order, but that order can make some future encounters easier or harder depending on your choice. Since you can only take two slabs at a time in a quarter, these decisions are much less persistent than in the Mega Man example and become non-existent once you’ve infused each of them, but there are some. some that you should focus on first. .
Perhaps the simplest recommendation is Shift. It’s an essential slab to have just so you can explore each of Blackreef’s neighborhoods with more freedom, discovering new entrances to important areas or shortcuts to the underground tunnels that connect each area. It’s a skill you’ll miss out on when not included in your gear, as the extent of freedom of movement it offers transforms the way you plan to approach each encounter that awaits you. If it’s not your first choice, grab it from the start, then keep looking for any upgrades.
Nexus is another great slab to pick up early on, mainly because of how it complements all playstyles. Being able to link enemies together can make stealthy races through neighborhoods quick and efficient, saving you money. time and ammo as you head towards a visionary. In the heat of battle, it’s also fairly easy to use on enemies directly in front of you, letting you take out dozens of enemies with just a handful of bullets. Influence is probably the best upgrade to get for Nexus as well, allowing already Bound enemies to make new connections as they move through areas, while Attraction helps during frenzied firefights by taking care of aim for you.
If you’re looking for even more Deathloop, be sure to check out our 10 essential tips for getting started with Colt and the Isle of Blackreef. You can also dive into our 10/10 Deathloop review to find out why Arkane’s latest is one of his best and a strong competitor to GOTY.
GameSpot may earn a commission on retail offers.
[ad_2]
Source link