

[ad_1]
Genshin Impact 2.0 is packed with new quests to complete and puzzles to solve, and players may have encountered the Sacrificial Offering quest during their travels through Inazuma.
This tricky quest is full of exploration and puzzle solving and players will need to have a keen eye to complete all the tasks in order to complete this new Inazuma quest. Players can learn how to find the barrier required to complete this quest, as well as a guide on completing the other steps required to complete it.
Genshin Impact: How to Complete the Sacrificial Offering Quest

The Sacrificial Offering quest is a new Genshin Impact quest that players can acquire while traveling in Inazuma, and it requires players to multitask to unlock awesome rewards. This can be quite a long quest, so players should make sure they are ready before embarking on this new mission in Genshin Impact 2.0.
To begin this Genshin Impact quest, players will need to travel to an abandoned shrine that is northeast of Konda village. This shrine is marked in the image above, and players can go there to learn more about the shrine’s history and begin the next part of the quest.
Gather the mysterious shadows
In the next part of the quest, players will need to locate and talk to several mysterious shadows that have been scattered around the area, causing them to disappear and reform into a trio of fox statues. Players will need to find all of these mysterious shadows to progress the quest, and they can be found in these locations:
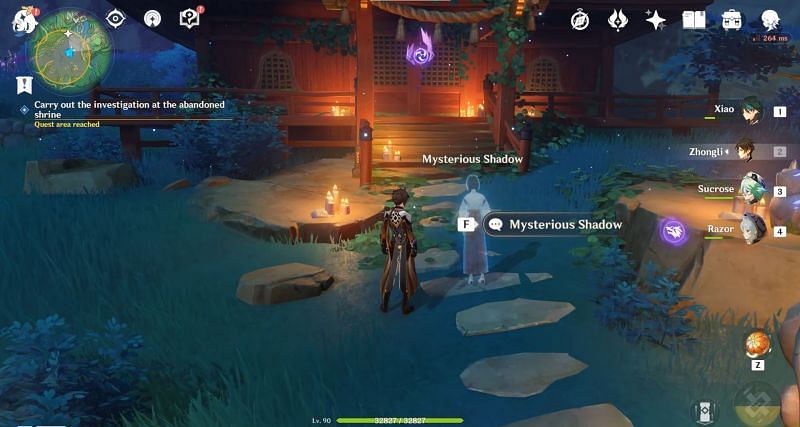

Genshin Impact players can find the first mysterious shadow standing in front of the shrine, and interacting with it will cause it to disappear, prompting Paimon to note how strange it is.
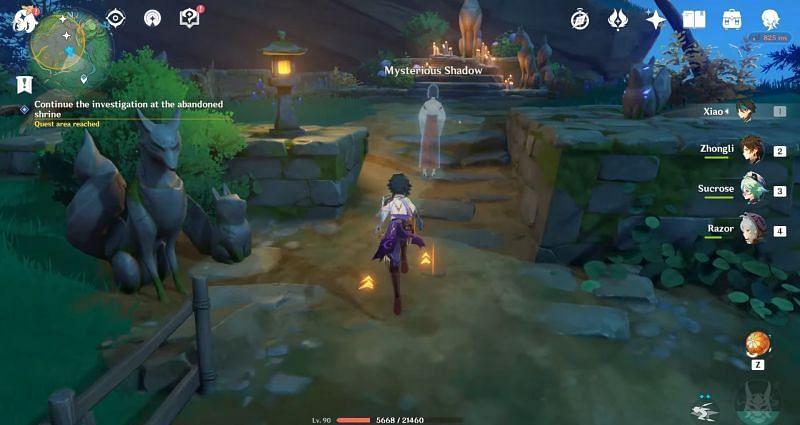

Players can find the Mysterious Second Shadow by turning around from the first and heading towards the Fox Sanctuary a short distance away. Talking to this mysterious shadow will also cause it to disappear, leaving more shadows to be found.
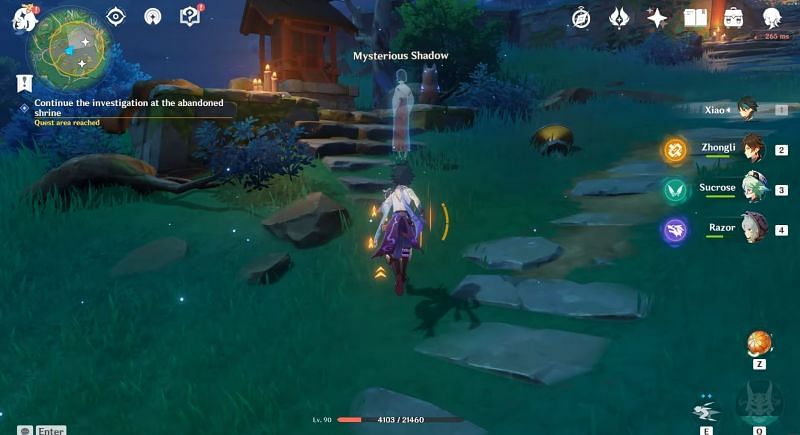

Players can find a mysterious third shadow near another smaller shrine, and talking to it will cause it to disappear like the others.
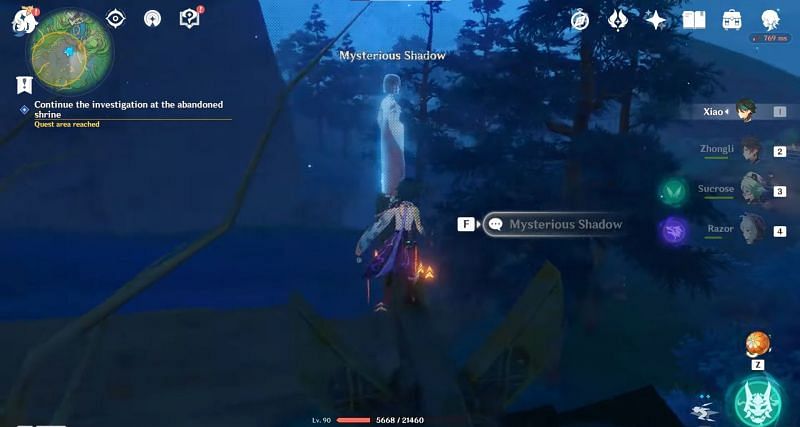
Another mysterious shadow is located on the roof of a building a fair distance from other shadows, and talking to it will cause it to disappear, leaving just one more shadow for players to interact with in this Genshin Impact quest.
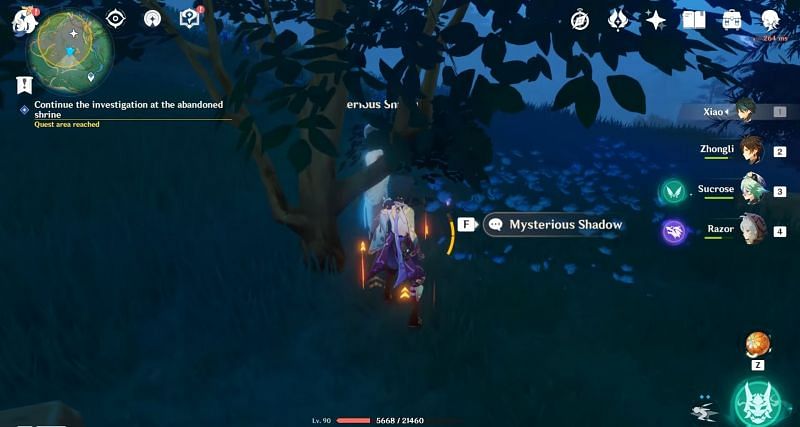
The last mysterious shadow can be found under the branches of a tree right next to the trio of fox statues, and once spoken to, she will join the other two mysterious spirits, granting players three chests and advancing this new Genshin Impact quest.
On the way to Narukami shrine


Paimon will suggest players to get professional help to resolve this issue, so they will go to Narukami Shrine for help. Genshin Impact players will receive a new item called the Memento Lens which they can use to progress in this quest.
Once Genshin Impact players have obtained the Memento objective, they can use it to gain information by looking at small fox statues through the objective, which will be an important part of the quest progress.
Using the Memento lens on Kitsune statues:
Players will then be tasked with scanning the small statues with the Memento Lens, which will provide them with the phrases they will need to advance the quest.
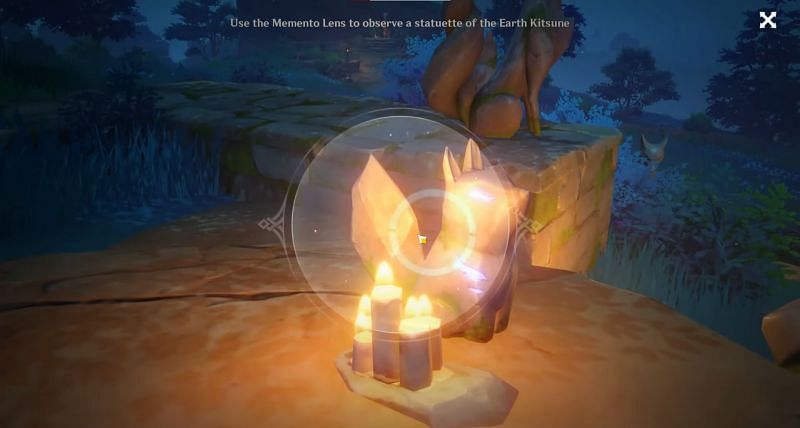

Once players have scanned all of the kitsune, they will have learned the words they need to recite in front of the larger statue.
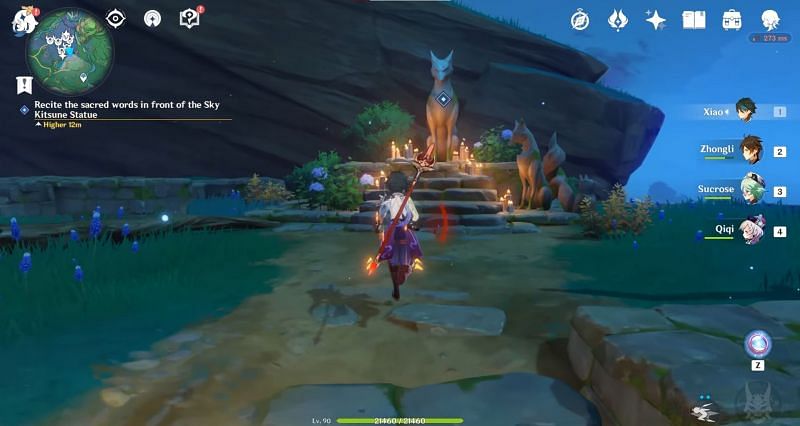

Genshin Impact players will be responsible for reciting the holy words in front of the Sky Kitsune statue, and the order is simply the verses from the top to the bottom of the list. Players will need to enter them in this order:
- “On behalf of Narukami’s envoy.
- “And from the Hakushin line.
- “Bring the fried tofu!” “
Once this step is completed, players will be able to move on to the last step of the quest.
Find and destroy the barrier in the Sacrificial Offering quest:

Players will need to make their way to the last barrier of the quest, which is in a cave near the shrines. Players will need a special key to unlock the door, which can be found by completing the A Strange Story in Konda quest. Players can also find an Electroculus inside once they open the door. Once players unlock this door, they will need to enter this model into the surrounding statues.
Genshin Impact players can do this by interacting with the statues until the ones outside have three Electro symbols, the middle one has two, and the lower one has one. After that, players will need to interact with the shrine and pray, which will summon an enemy samurai. Once the players have defeated him, the quest is over.
This Genshin Impact quest may take players a while, but it is part of a long quest line in Inazuma that is definitely worth completing both for the rewards and the storyline.
Also Read: Perpetual Mechanical Array in Genshin Impact: How to Unlock, Use & More Details
[ad_2]
Source link