
[ad_1]
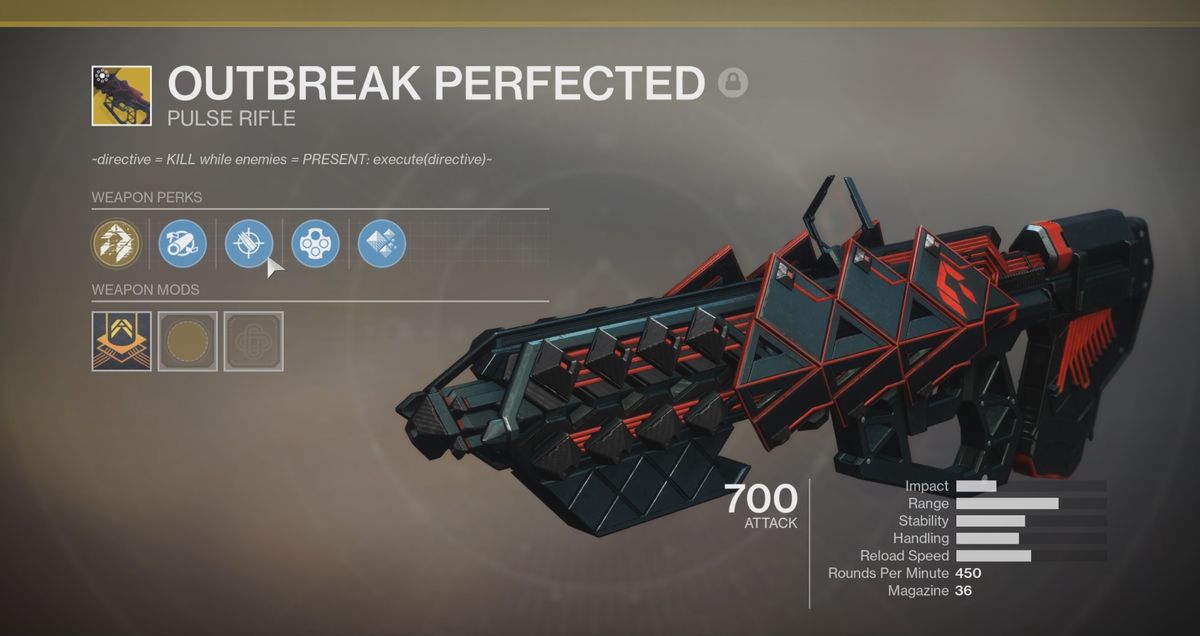
As a spiritual follow-up to the beloved Whisper of the Worm mission, Bungie recently released an exotic surprise quest rewarding Destiny 2 Outbreak Perfected. This Exotic pulse rifle is a revamped version of Outbreak Prime, an exotic from Destiny's original Rise of Iron DLC. Outbreak Prime was a SIVA-tech weapon obtained while on another obscure quest. It is therefore perfectly appropriate for Outbreak Perfected to start with a harmless piece of Fallen technology. That said, here's how to start the Exotic Outoff Perfected quest.
How to start the quest Destiny 2 Outbreak Perfection Exotic
First, you must complete the Enemy of My Enemy World Quest on Titan. It should take less than 30 minutes, so if you're not done yet, knock it out and make sure you follow all three steps.
With that, load the adventure of bad neighbors on Titan. Once you've started the Hive-filled section, you'll come to a Shrieker floating above a red-lit room. Enter the room and open the safe door on the left side. Go to the communications room and look for an interaction prompt on the right side near the front.
It's there that you will recover the fallen transponder, key to the perfection of the Destiny 2 Outbreak.
Where to find the six fallen transponder nodes
Once you have the transponder, you have to decode it using six data nodes. They are all found in lost areas with fallen themes, with four in the EDZ and four on Nessus. You can fly over the lost areas on your map to see which one is which, but if you need it, here is a lost sector guide, courtesy of ProGameGuides. Here is a quick overview of the location of the six knots (hat tip to Nyxara to gather this information on Reddit):
Node 1: The area of the drains lost in the zone EDZ – Follow the main path until you reach a large cave. The knot is at the lower level, near a covered cargo.
Knot 2: Lost Area of Whispered Falls in the EDZ Zone – Get off as soon as you enter the lost area. The knot is in a small alcove on the right.
Node 3: lost area of the atrium in the development zone – Follow the main path until you come down from a rusty and broken staircase. The knot is at the corner of a neighboring room.
Node 4: Lost Sector of the Widow's Walk in the EDZ Zone – The knot is at the top level of the destroyed house, directly behind the trunk of the lost area.
Knot 5: The Lost Sector of the Carrion Pit on Nessus – Hang a half turn to the right just after the trunk of the lost sector.
Node 6: Lost Rift Sector on Nessus – Jump to the leftmost part of the main room. The knot is inside the furthest freight.
Zero hour solution (normal)
Once you have all six knots, it's time to visit the farm. From the landing zone of the farm, head to the right and look for the basement entrance. Follow the path that goes down to a small underground room. There is a captain fallen to the left back. Talk to him to start the Zero Hour mission, which takes place in the old tower. But before that, make sure your upload is set up as you want. You can change gears during the mission, but it is good to set up your equipment in advance.
Zero Hour is a three-player mission with a time limit of 20 minutes. This is an activity of 690 Power, so you should aim for at least 681 Power. Like the Whisper mission, Zero Hour consists of combat sections and platforms. It is also full of protected enemies – mainly Shanks with solar and anti-arc shields, but also bowmen and empty servants. You must kill everything in each fight to progress, so make sure your team uses weapons from each element at the same time.
For weapons, I would recommend any machine gun, Loaded Question, Arbalest, Recluse and Whisper of the Worm. Arbalest will do a quick job on the Shanks and Whisper of the Worm will tear up the spider tanks throughout the game. If you wish, you can use Arbalest for the bulk of the mission and switch to Whisper for the final boss. In any case, try to diversify your load as much as possible. For example, I played as a Voidwalker and used an electric arc gun with a solar heavy weapon, in this way I could effectively break down any type of shield.
Once you are ready, talk to the deceased captain of the farm. During the first five or six minutes of the mission, all you have to do is follow a linear path and shoot the guys. You must kill all the enemies in each zone in order to remove the fallen barriers that block your path, so be careful. The first fight has some empty Shanks, and you will meet later a Spider Tank flanked by empty Servers, so be prepared.
Platform
After killing the Spider Tank, continue through the bowels of the tower until you reach the starting point of the main story of Destiny 2. It is here that the platform begins. Slide under the elevator at the back and get off. Go into the nearby air vent and follow it until you reach an airyard. Go down and look for another vent under the ship, left.
Follow this vent until you arrive in a room with two other aerators. Pull the grill over the leftmost vent and follow it up to an open room with six rails along the walls. Jump on the rightmost chute along the wall and let it fall into another vent. If you are baffled, prick your nose in the corner chutes until you find the right one.
This path will take you to an outdoor deck section. Jump to the second yellow elevator and look to the right. Fall in the alcoves along the wall, then follow the path to the right. Once at the end, look down and fall on an antenna that protrudes from the wall. Follow the path of the antennas until reaching a few platforms. Activate the lever of this platform to open a vent at the top, then jump into the aerator.
Follow this vent up to an empty elevator cage lined with yellow trim platforms. Follow the platforms up to the second highest level and pull the grill from the top of the vent. Oriented to the entrance, enter the grid on the right. If you catch the wrong vent, turn around and jump to the other vent.

Now it's time for some death fans. This section looks and looks more scary than it is. Jump to the platform in the middle of the fan, then look for a red-lit alcove along the wall. Go to this alcove and slide to the next fan. You can land on the pipes below or simply slide to the next central platform. Repeat this process until you reach another vent at the bottom.
This next part should remind you of the Whisper mission. Jump on the thin reflective paths that run along the walls of this obsidian room to make your way. There is a piece of wall that protrudes at the end of the second path, so avoid it by jumping in the fall.
Trevor the zamboni killer
The time has come for the zamboni of death, AKA TR3-VR, AKA Trevor, AKA the devil himself. Follow the path to a control room overlooking a labyrinth. Look at the map on the monitor, as it shows you the labyrinth layout. The four red lights on the map represent levers in the labyrinth. You have to enter the labyrinth and shoot the four levers to open a door at the back, while avoiding Trevor.
There are two levers on each side, so send one person to the left and two people to the right. Embrace the exterior wall to find the side aisles that lead to the levers and wedge it against the inner wall to find small lockers that you can use to hide from Trevor. Arc gates will appear periodically, but they will disappear after a few seconds. Keep an eye on the lights in the corners of the maze. As always, green means "go for it" and red means "put yourself in a panicked cubbie before your bowels become your extrails". If you have to cross the labyrinth quickly – either because someone died before pulling the levers on his side, or because Trevor arrives and there are no caddies nearby – you can use the red pipes along the abyss in the middle of the Labyrinth.
Once the four levers have been fired, place them at the bottom of the labyrinth. Hug the outside wall and you will find another slim path. This leads to a room filled with Janky lifts. Jump on the nearest and press the button to mount it. You can take the same lift throughout the climb, but the lifts will collapse shortly after you reach the top, so jump to the suspended platform as soon as you can.

You will come to a big slide lined with red pipes. Slip down, but lose momentum jumping periodically, otherwise you'll be splashed down. When you land, take the left lane and look for a vent on the right wall just before the stairs. Follow this vent and you will go down to the safe of the tower. Look for a section of wall bearing this symbol:

Enter the symbol and the wall will rise, allowing you to access a large ornate room. Head to the right back room of this room and jump into the welded hole in the floor. You are going to land in a server room. Follow the linear path until you reach another vent leading down. This will drop you in the boss's room.
The boss fight
The last boss of Zero Hour is pretty simple. This is a great fallen captain guarded by vandals, Shanks, spider tanks, turrets and more. To complete the mission, you must kill all the enemies present in the area, not just the leader. Crowds must always have priority until the leader is alone.
As you descend, two turrets will appear on the platforms to the left and right. Kill them as fast as you can and fight the vandals and bind them. Shortly after the death of the second turret, a great servant and several solar dams will appear on the central platform. A well placed Nova Bomb will kill them all, and Thundercrash and Blade Barrage will also work. Around the same time, the boss teleports counter-clockwise and summons Shanks arcks to the left side of the room. Ask someone else to manage them.
Once the first wave of Servers and Shanks has been dealt, the boss teleports to the back of the room and the process is repeated: a great Servant appears with some solar Shanks, then the boss teleports back again in the opposite direction clock needles and summons over bow Shanks. Kill everything again and the boss will return to the central platform. Then, two spider tanks will appear at the turret location. That's where Whisper of the Worm is useful. Have two players kill the Spider Tanks by any means necessary and have your third player keep the vandals and Shanks in the middle of the room under control.
Once the Spider Tanks destroyed, regroup in the middle for DPS the boss. Vandals and Shanks appear periodically, and it's worth killing them to keep you from flinching while you shoot down the boss. Again, you have to kill each enemy to finish the match, so do not start celebrating the moment you killed the boss. Finish all the remaining monsters to stop the clock, complete the mission and get Perfected hatching. Congratulations! Now it's time to defeat the heroic version of this mission and get yourself the exotic catalyst.
Zero Hour Solution (Heroic)
The heroic version of Zero Hour is an activity with a power of 700, and it also runs very differently. It starts and ends in the same way, but the platform elements in the middle are totally different.
Access the heroic version of the mission from orbit and proceed normally until you arrive at the aerodrome field before. Instead of taking aeration under the ship to the left, head to the right and head for the AC box on the right rear. Lower this vent, follow the path through the next vent and back down.
You will land on a thin suspension bridge in an industrial hall. There is a lever in every corner of this room. Each lever will lift the lid of a chute into the adjacent aqueduct room. Shoot the four levels and follow the path to the aqueduct. You should see the way to the aqueduct, but you can also kill yourself, wake up and take another vent to get there.
Once you are in the water room, go up to the next level until you see four numbered runners. Looking for chute 03. Stand on the raised lid for chute 03 and look. Jump on the compensated yellow ledge. Follow the staggered ledges straight up to a vent.
This vent will take you to a long, narrow corridor lined with small rooms. Jump between the pieces until you reach a lever at the end. Pull the lever to extend the platforms between the pieces, which facilitates the crossing of the corridor. At the end of the corridor, take the left path to the outer deck section.
This section is easier to look at than explain, let's start with this GIF:
There is no shortcut here. If it helps you, here is the way to go:
- Jump along the three exit pipes
- Jump three white pipes
- Access the power box and articulated platform to get to the orange pipe
- Jump to the corner of another orange pipe
- Wait for articulated platforms to appear and jump along them
- Jump on the rails at the end and use them to climb up to the open panel
Do not practice on this section because it's easy to knock down your teammates. Let the person ahead take you some jumps. And when you reach the last stretch of hinged platforms, make sure to start moving the second as soon as they appear.
Go through the open panel at the top of the railings and you will come to another slide. Unlike before, you do not want to break your momentum on this slide. You will need it to fill the gap at the end. Dodge the pipes as you slide down and as soon as the slide opens, jump for you to fly. Do not jump too late or you will crash against the wall. You must also restrain yourself when landing to avoid splashing.
Once the space is empty, look for a vent up and to the right. This vent will take you back to the normal version of Zero Hour, starting with the fans of death. However, there is still a difference to take into account.
When you reach the safe before the boss fight, the grid piece leading to the ornate room will vaporize unless you take a very specific path. Fortunately for you, I only prepared the best computer graphics showing the correct path:

And here is this way in action:
Once this grid is cleared, the activities proceed as usual. Drop the hole at the end of the room to access the boss, then kill him well. If all goes well, you will get the Exotic Catalyst Perfected Perfected. Type in the back for a job well done and get ready to make the heroic version several times to finish the Catalyst.
[ad_2]
Source link